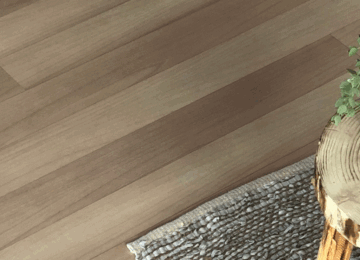
1
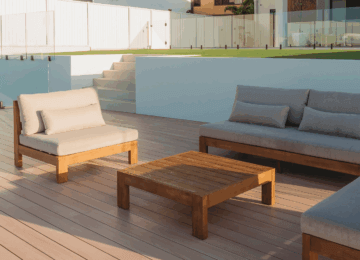
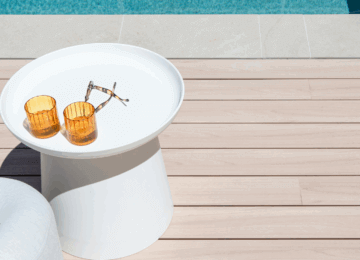
Determine Decking Layout
Below are two common layouts for your decking system:
Option A – Exposed End
Option B – Enclosed End. Each option involves slightly different installation methods and
different accessories.
Please determine the appropriate option for the installation.
2
Starting Options
Option A involves starting the deck without connecting it to a building. Option B involves attaching the decking board to a building behind it.
Please Note: For Option A, please skip to the Install tab after completing the below.
Option A- Exposed End
1. Determine the correct position for your board.
2. Hold the board in place, using the v-groove as a guideline, and pre-drill the board and the joist.
3. Screw fix the board into place.
| Label |
Description |
| A |
Wood Fixing Screw (DC-Dk104) Or Metal Fixing Screw (DC-DK114) depending on joist material |
| B |
DecoDeck Board |
| C |
Joist |
| Label |
Description |
| A |
Screw |
3
Option B- Enclosed End
When building a deck adjoining a wall, the overall size of the deck should be measured in order to determine the starting location and the number of boards required. Measure the deck dimension (X) and divide it by 100 or 140 (depending on the board width that has been selected) to determine the number of full board widths required. Once you have determined the number of full board widths required, the remaining dimension (Y = X – {No. of full board widths x [100/140]}) can then be addressed by;
1) Using a standard size section (25 x 25, 25 x 30, 25 x 40, 25 x 50 ect.) to ensure that the install finishes with a full board.
OR
2) Using an angle to cover up the ripped board next to the wall.
If the dimension X allows you to fit in an exact number of full boards go to Option B1, otherwise go to Option B2 or B3.
| Label |
Description |
| A |
Building |
| B |
Number of Boards |
| C |
Joist |
Option B1
1. Position the Wall Starting Connector by pushing it against the wall and the joist
2. Screw fix it toward the joist from the side.
| Label |
Description |
| A |
Building |
| B |
Wall Starting Connector (DC-DK103) by pushing it against the wall and the joist |
| C |
Joist |
Isometric View
Option B2
1. Cut the standard section to length and position it in place
2. Position the angle from bottom and screw fix toward the joist and the section
3. Position the Wall Starting Connector by pushing it against the standard section and the joist
4. Lastly, screw fix the Wall Starting Connector from the side
| Label |
Description |
| A |
Building |
| B |
Standard Section |
| C |
Attach standard section with angle and screws before starting to lay the decking boards |
| D |
Last Board |
| E |
Joist |
Bottom View
Option B3
1. Rip the board into length according to dimension Y
2. Rip the board shorter on top and screw fix the bottom section. (see DETAIL B3)
3. Apply adhesive and position the angle in desired location
4. Give constant pressure downward until adhesive is set.
| Label |
Description |
| A |
Building |
| B |
Rip the board shorter on top to allow screw fixing of bottom section |
| C |
Last Board |
| D |
Joist |
Isometric View